Grunge Tutorial
This tutorial was originally just a slight altercation to the "Grunge Dust" tutorial at Spoono. And then I went back and noticed that pretty much, it starts off the same ... generally, and then it goes to a completely different spin. Well, sort of. The outcome is different, though in a same general idea/style. Grunge brushes have the same effect, though sometimes with grunge accumulated around the borders. I honestly hate downloadable brushes, as I don't consider it quite a person's own work (if they downloaded it), and it just makes the users lazy. Also, it is pretty much the same work being used over and over again- which also irritates me a lot. This tutorial is generally simple, and it is quick to make grunge with. Soo~~ get reading! :D -Lain
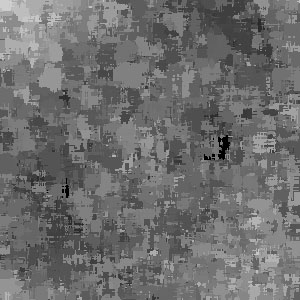
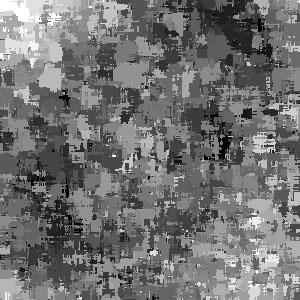
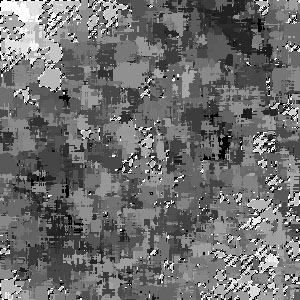
These images are 300x300 pixels, but 75x75 icons. Click on each image to see the full size (and therein, more detail as to what your thing should generally look like. These images will open in new windows. This tutorial was also made in Adobe Photoshop 6.0, and should work for other full versions as well. I do not know about PSP.
|
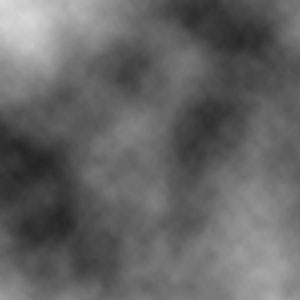
1; Create a new template- for this tutorial, I am using 300x300px. 500x500 is also nice, but I wanted to downsize it for those of whom with 56ks ^^ You can also simply create a new layer, if you're working on an image, but it's not suggested if you're using this for the first time, or if your computer sucks. Set your color choices to a black foreground and a white background. Then go to Filters - > Render - > Cloud. |
|
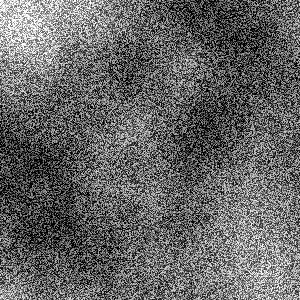
2; Go to Filters - > Noise - > Add Noise. The settings I usually use are Uniform, Monochromatic, and 40. The "monochromatic" option is a must. You should come up with something similar to this. |
|
3; Duplicate Layer. This image is the same as the above image. |
|
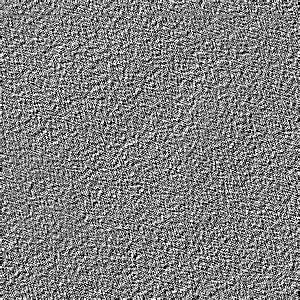
4; On the top layer, apply Filters - > Stylize -> Emboss. I use whatever default setting there is there. |
|
5; Reduce the top layer's opacity to 50%. |
|
6; Merge layer down. This image is the same as the one above. |
|
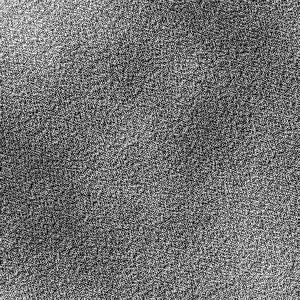
7; Filters - > Artistic - > Palette Knife. |
|
8; Image - > Adjust - > Auto Levels. Alternately, you can use LEVELS and screw around with the settings yourself, but Auto Levels is for those who don't know how to use Levels, or are just plain lazy, or dont have the time to mess around with it. :p |
|
9; Select - > Color Range - > Highlights. Highlights is under the dropdown menu. You can chose either that or SHADOWS. This is pretty much just selecting a grunge area, as you can see in the image. From here, you can duplicate the layer, fill it, and drag it to another canvas to work with, and/or whatever else you want. Just mess around with it a lot :p |
This tutorial is © (copyright) Lain. Meaning that I made this.
Please do NOT redistribute this on your own server without my permission.