
Outline Tutorial
|
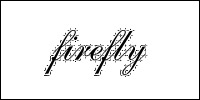
If you are using this tutorial to create an effect on a graphic, select or create the text that you want to use this effect for. If you are using this tutorial simply to learn, create a new canvas. What I'm using is a 200x100 pixel canvas. Type something in. This effect looks, I'd think, particularly nice on cursive fonts. What I used here is ENGLISH 111 VIVACE BT. |
|
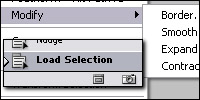
Next, load the selection. To do this, hold the CTRL key down and click on the layer with the text, in the layer menu. I believe for MAC users it would be the OPTION key. After that, go to SELECT -> MODIFY -> EXPAND. Set it to 2px and hit enter. |
|
Now the variable comes in. I used a custom diagonal pattern. The PSD for it can be downloaded here. To set it as a pattern, go to EDIT -> DEFINE PATTERN. The name doesn't matter. Now that you have the pattern, go back to the canvas. On a new, blank layer, go to EDIT -> FILL. Go to PATTERN on the dropdown menu, and find the pattern you will use. Hit OK. |
|
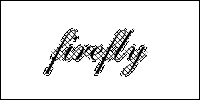
Load selection again by holding CTRL/OPT and clicking on the layer (in the layer menu) with your text. Go to SELECT -> MODIFY -> EXPAND again, but this time set it to 1px. Hit enter. You should come out with something like this. Make sure you are on the layer with the filled pattern. Hit delete and deselect everything. |
|
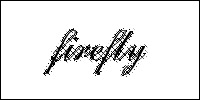
And viola. Here's the final product. Every pattern you play around with will give you different effects, so play around with them. |
This tutorial is © (copyright) Lain. Meaning that I made this.
Please do NOT redistribute this on your own server without my permission.